UK Design & Manufacturing

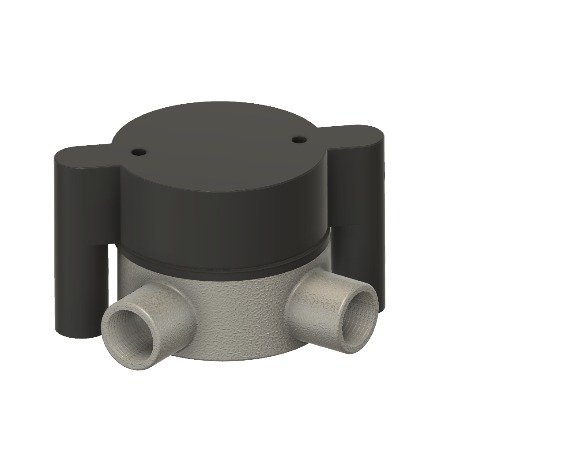
HSJB High Security Junction Box

Model T8-HSJB-STD · Everything on the in-box installation sheet, plus downloads, the independent test report and support.

BS EN 50131-3 · Grade 3 tamper IK08 impact IP40 Indoor, dry use
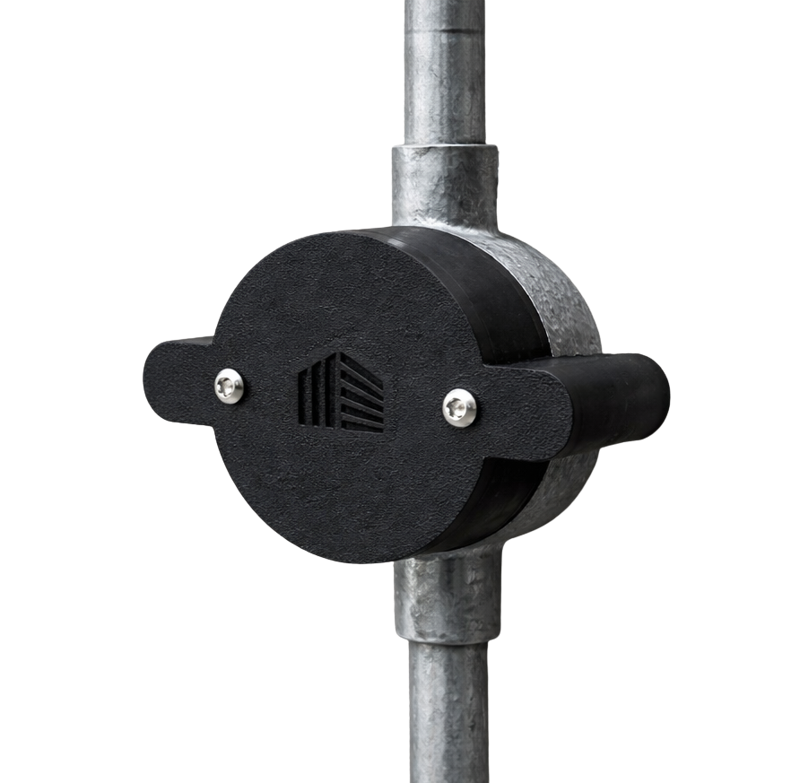
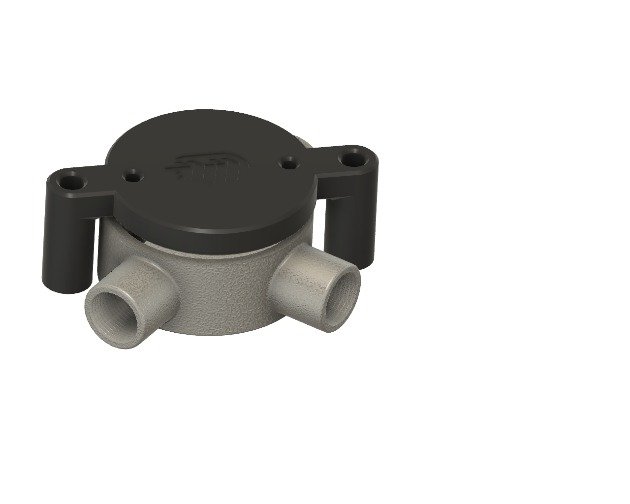
HSJB fitted to a conduit box

Read this first

  • Competent installers only. Isolate power sources and place the alarm system in engineer mode before connecting the tamper circuit.
  • Wire BOTH tamper switches so that either one raises a tamper at the control equipment (step 5). Wiring only one invalidates the tested performance.
  • Do not drill, cut or modify the HSJB. Fit only the supplied screws with the collars – the collar sets the switch actuation height.

In the box

  • 1 × HSJB Main Body
  • 1 × Tamper Insert – 2 tamper switches, 12-point terminal block, leads unterminated
  • 2 × M4 male/female standoffs
  • 2 × M4 × 16 mm security screws (6-lobe pin)
  • 2 × 3.5 × 40 mm countersunk wall screws
  • 2 × 5 mm collars (standard fitting)
  • 2 × leg extensions + 2 × 7 mm collars (25 mm conduit boxes only)

You will need

Not supplied: a standard 20 mm or 25 mm BESA-type conduit box, securely fixed at all points · wall plugs to suit the substrate · alarm cable · Tier8 HSJB drill template (sold separately – free with your first order).

Tools: drill and bit to suit the wall plugs and building fabric · Pozi/Phillips screwdriver · T20 6-lobe pin security driver.

Six steps

Drill template fitted to the conduit box

1Mark and drill

Fit the drill template to the conduit box using the two M4 standoffs. Mark and drill the two fixing holes through the template legs, sized for the wall plugs and substrate.

Remove the template. Fit wall plugs to suit the substrate, flush to the wall.

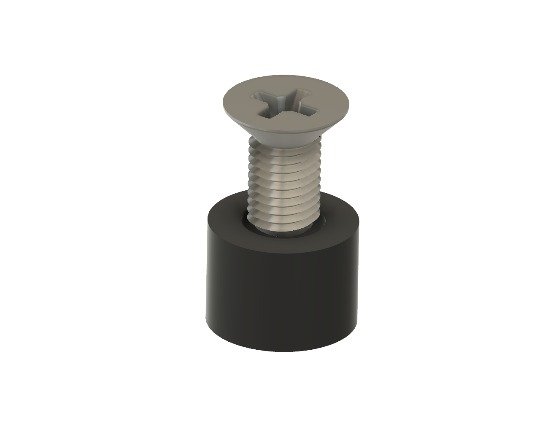
Screw with collar fitted

2Fit the tamper screws

Slide a 5 mm collar onto each 3.5 × 40 mm screw (7 mm collar if using the leg extensions – see below).

Drive each screw until the head seats on the collar. The collar sets the height; the countersunk head gives depth tolerance. Do not overdrive.

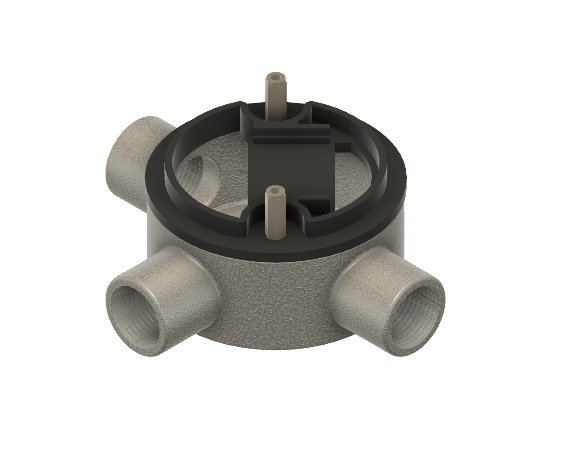
Tamper insert seated on the conduit box

3Fit the tamper insert

Bring the alarm cable into the conduit box.

Seat the Tamper Insert on the conduit box and secure it with the two M4 standoffs.

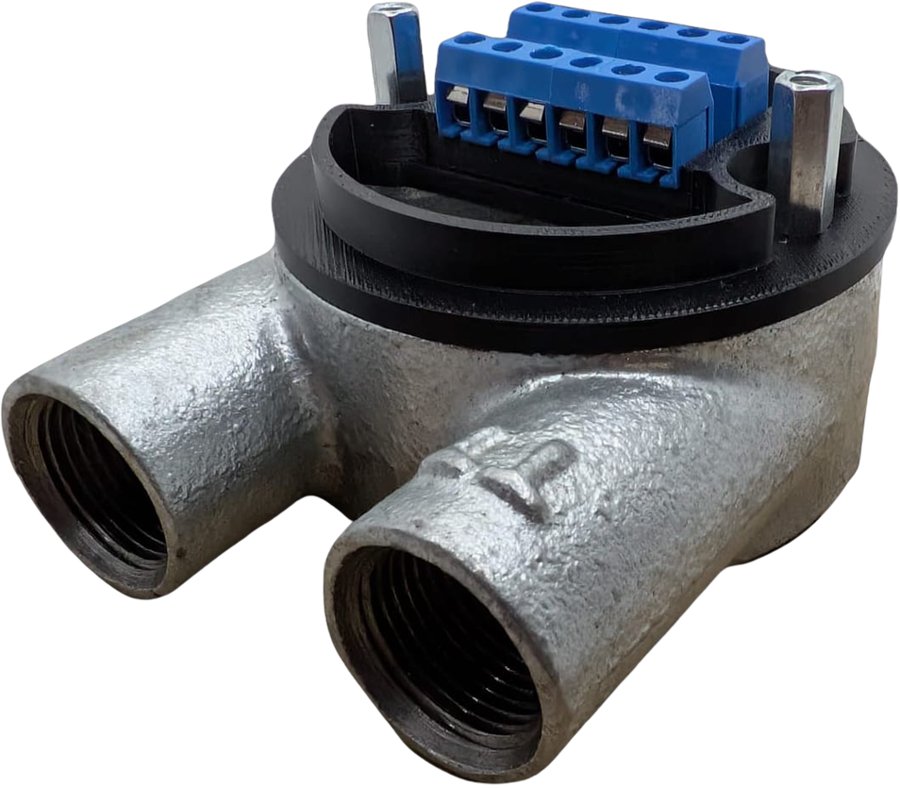
Terminal block on the tamper insert

4Terminate the cables

Terminate the cable cores in the terminal block. Keep cores short and dressed inside the conduit box.

CONTROL EQUIPMENT tamper circuit EOL SWITCH 1 cover removal (N.C.) SWITCH 2 removal from wall (N.C.) Both switches in SERIES – either one raises a tamper.

5Wire the tamper circuit

Connect the two tamper switch leads in series into the panel tamper circuit or a monitored zone. Fit end-of-line resistors of the value and configuration specified by the control panel manufacturer.

Main body fitted over the insert

6Fit the main body

Lower the Main Body over the insert so the switches in the leg supports land on the screw heads. It should sit flush without force – if not, re-check step 2.

Secure with the two M4 × 16 mm security screws.

Commissioning check

  • Main Body sits flush to the wall and both security screws are tight.
  • Tamper raised at the panel when the security screws are released and the body is lifted.
  • Tamper raised at the panel when the assembly is lifted from the wall.
  • System restored from engineer mode and tamper circuit clear.

Using the leg extensions

A 25 mm conduit box stands taller than a 20 mm box, so the Main Body legs will not reach the wall and the tamper screws must stand proud to reach the switch plungers.

  1. Push-fit a leg extension onto each leg of the Main Body.
  2. At step 2 use the 7 mm collars in place of the 5 mm collars.
  3. Continue from step 3. At step 6 the extended legs must sit flush to the wall.

Maintenance

No routine maintenance and no user-serviceable parts. At scheduled system maintenance confirm the fixings are tight, the body shows no cracks or deformation, and both tamper functions still operate (see the commissioning check).

Specification

ModelT8-HSJB-STD (standard fixing). Adjustable-fixing variant: T8-HSJB-ADJ
FunctionTamper-monitored junction box for intruder detection, access control and CCTV field joints. Retrofits over an existing conduit box.
Tamper detection2 × switches: cover removal and removal from mounting surface. Wired in series (normally closed in the installed state)
Switch rating3 A 125 V AC / 1.5 A 250 V AC (momentary, SPST)
Terminal block12-point (4 × 3-way), 5.08 mm pitch, 12–26 AWG, 16 A / 300 V
Compatible boxesStandard 20 mm and 25 mm conduit boxes (25 mm: fit the supplied leg extensions)
Fixings2 × 3.5 × 40 mm countersunk screws (supplied) with 5 mm or 7 mm collars. Wall plugs not supplied – select to suit the substrate
Security screws2 × M4 × 16 mm 6-lobe pin, pan head
Material / colourASA polymer (UV and impact resistant) · Black standard; white, grey, green and red to order
EnvironmentIndoor, dry, controlled environments. Not for corrosive, damp or external use.

Independently tested

The HSJB is a passive mechanical component incorporating tamper detection switches and contains no active electronic circuits; it is outside the scope of UKCA/CE marking.

It has been independently tested, in the configuration described on this page, against BS EN 50131-3 tamper protection (8.7.1) and tamper detection on access to the housing (8.7.2.1) and removal from mounting (8.7.2.2) at Security Grade 3, Type B ancillary equipment; BS EN 62262 IK08; and BS EN 60529 IP40. Suitable for use in systems designed to comply with PD 6662:2017. Independent testing is not certification.

Overall system conformity remains the responsibility of the system designer or installer. Manufactured under the Tier8 Limited Quality Management System in accordance with ISO 9001 principles. Materials and fasteners are batch-traceable (see product label).

Documents

Questions during an install? Email orders@tier8.co.uk or call 01706 489765.

Page content matches installation sheet T8-HSJB-STD-IS · Rev 1.0 · September 2026